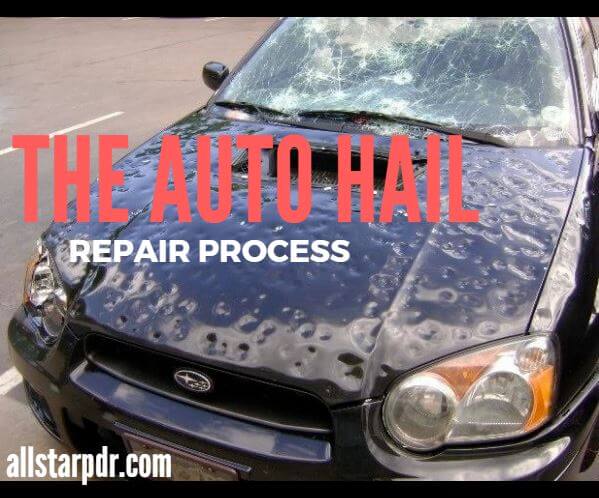
The Hail Damage Repair Process
Step 1 – R&I: The Hail Damage Repair Process Begins
R&I stands for “remove and install”. Once your vehicle has been approved for repairs, we have a little make ready to do, which we call “breaking the car down”.
Our R&I tech’s job is to remove parts that interfere with access so our hail techs can get behind the dents and push them out. This may include head and tail lights, bumpers, the hood, trunk lid, and headliner among other things. The items removed are meant to be taken off and put back in place, so no worries about having to replace those items.
Once the necessary parts have been removed and the car is ready for repair, we hand it over to our amazing techs.
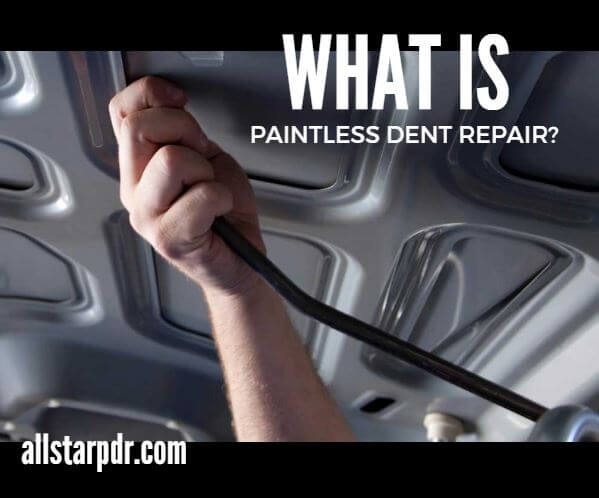
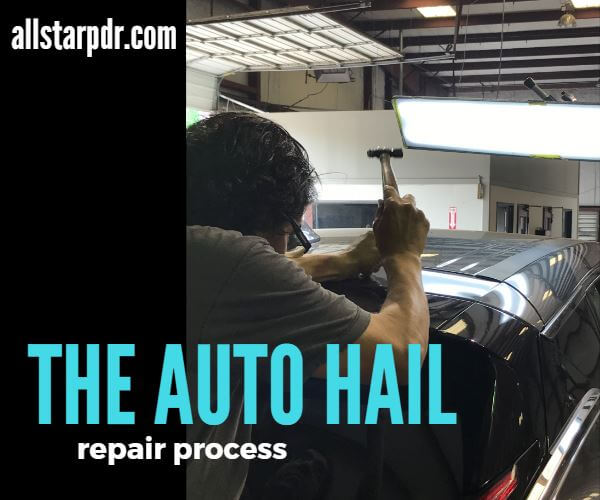
Step 2 – Paintless Dent Repair
Now that your car is ready for repairs, our techs begin working panel by panel removing each dent and returning your car to its “pre-hail” state.
As you can see in the video below, each dent is worked and massaged until it disappears and no trace of the dent remains, resulting in a “glass like” finish.
Once all the dents on your vehicle have been repaired, our techs go around the car and check for any missed dents or areas that need a bit more improvement. If no dents are found and the repair is satisfactory, it’s time to put your car back together and replace any damaged parts.
Quick Note: Sometimes we get some pretty large hail and when those large hail stones make impact on a car they actually break or crack the paint. In this case we will repair the dents on that particular panel and send the car to the body shop to repair the damaged paint. This is one of very few times we will send a car to the body shop as we make every effort to maintain your factory paint job.
Step 3 – R&I and Parts Installation
Once repairs are complete it’s time to “button the car back up” and replace any damaged parts. Typically, window moldings and plastic items get damaged by hail so as part of your claim, we will replace any parts damaged by hail.
We take great care during this stage to make sure your car is put back together properly and safely. That being said, this is the stage of repair where many companies fall short. You don’t want to get your car back only to find the windows or dome lights don’t work properly or that your sunroof is leaking. Putting the car back together properly is of the upmost importance to us. As such, the R&I process is covered by both our Lifetime Warranty and Triple Satisfaction Guarantee to ensure your satisfaction even after repairs have been completed.
Step 4 – Quality Control
The final step is our quality control process. Once repairs have been made, parts have been installed, and the car is put back together, we go around the car with a PDR light to check for any missed dents. We then test the interior and exterior lights, roll the windows up and down, check the blinkers and brake lights, open and close the sunroof, and test any others items which were touched by the repair.
We take the quality control process very seriously and want you to feel 100% confident when you get your car back everything is in the same or better working condition than when you dropped the car off.